
How to Protect Your Portfolio with a Watermark: Tips for Designers and Artists
A portfolio is a business card for a designer or artist. It also serves as a showcase of their best work. But along with publishing your images online inevitably comes the risk of their unauthorized copying. In such cases, a watermark not only declares authorship but also complicates the task for any plagiarist. An applied text or graphic mark on an image immediately shows that “this work belongs to me.” At the same time, it serves as an advertising touch for a personal brand. A watermark not only prevents theft but also promotes the professional. Images with a branded logo are more often remembered and shared.
Important: A watermark does not provide 100% protection guarantee: there are tools capable of removing or masking the mark. However, a mark with your name or logo serves as a visual warning – “this work is protected by copyright.” This deters most “lazy” copiers.

Why is protecting your portfolio from the designer or photographer’s side with a watermark important, despite the lack of legal force? It’s simple: it’s a means of deterrence at the initial stage. And practice shows that this really works. That’s why all stock agencies put huge watermarks on all their images.
Types of Watermarks
Two main types of watermarks:
- Visible
- Invisible
A visible mark is an open overlay on an image. Most often it’s semi-transparent text, a logo, or even a small picture. Typical watermarks contain the author’s name (often with the © symbol), branded logo, and even contact information (website, social media links). Such a mark is immediately visible in the photo and is usually made transparent so as not to obscure the central subject.
A hidden watermark is embedded in the file invisibly. It cannot be seen with the eye. For example, technologies like Digimarc convert the mark into digital “noise,” virtually imperceptible during normal viewing. It doesn’t spoil the image’s appearance but requires special programs for embedding and recognition. The advantage is that such marks are difficult to remove, but checking their presence is also not straightforward.
When making a choice between the two options, content authors more often prefer visible watermarks. The main motivation is that they are immediately noticeable, and many potential copyright violators prefer not to risk it (since the mark is visible).
How to Create and Place a Watermark
The main task when designing a watermark is to combine visibility and delicacy. The mark should be large enough and semi-transparent so that it cannot be easily erased or cropped. But at the same time, it’s also important not to overload the image. Most often, a logo or inscription is made with low transparency (30–50%). This allows them to blend with the background.
Tip: Place the watermark either in the center or as a repeating pattern across the entire image. Evenly distributed semi-transparent copies of the name or logo across the entire picture significantly complicate removing the mark without damage. Alternatively – one large mark in the center or on a key detail of the frame. While it still remains noticeable, it will hide among the main elements of the composition.
Be careful with the contrast and color of the mark. Don’t make it too bright. Sharply white or black text distracts from the image and spoils the impression of the work.
Don’t forget: The value of a portfolio is in the paintings themselves, not in the signature. A watermark should emphasize, not drown out the style.
Ultimately, a semi-transparent logo (or text) in a calm color scheme is more often configured, which stands out without aggression.
Where is it Easier to Make a Watermark for a Designer: in Photoshop, Online or in Watermark Soft?
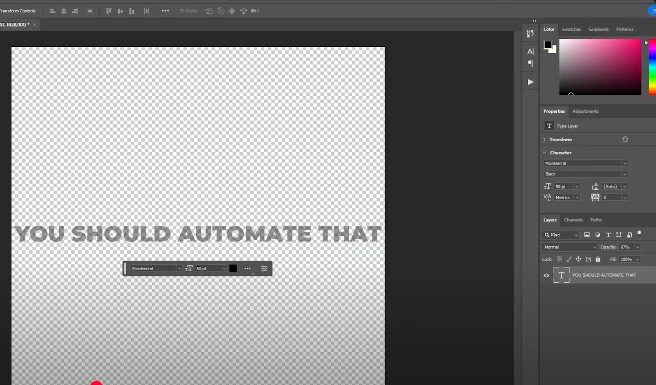
Currently, there are many programs and services that allow you to independently apply a watermark to a photo. The classic is Adobe Photoshop. In it, you can create a text layer or insert a logo on a separate layer, set its transparency, and save the result.
Similar functions exist in the free GIMP or other editors. Online editors like Canva also know how to overlay logos and text on images. Even the simplest Paint (Windows) or Preview (macOS) will allow you to add text. But there will be more limitations with effect settings.
There are tools for smartphones too: there are many mobile applications (for example, iWatermark) for Android and iOS, using which it won’t be difficult to add a watermark to your photo.
However, almost all these tools work with one image at a time. If you’re editing large collections, you’ll have to repeat the operation for each file, spending hours on tedious routine. Essentially, the same actions will have to be done in circles dozens and hundreds of times. This is exhausting and requires a lot of free time.
Tip: To avoid processing each work manually, pay attention to programs with batch mode. They allow applying a watermark to a group of photos at once in a couple of clicks.
Batch Processing in Watermark Soft Program
If you have dozens or hundreds of works in your portfolio, it makes sense to use a tool for mass watermark application. The Watermark Soft program was developed specifically for such tasks and is one of the best tools available today for installation on platforms such as:
- MacOS.
- Windows.
- Linux.
Instead of sequentially editing each shot, the user selects the source folder with files, sets watermark parameters (text, font, logo, position, transparency) and launches mass processing. The software will automatically apply the mark to all images and save the results in the specified folder.
The program can apply a mark to hundreds of images at once in a matter of minutes. This significantly saves time. Instead of manual work, the user gets a ready set of protected shots in a few clicks.
Watermark Soft supports all popular formats (JPG, PNG, TIFF, etc.), which is especially convenient for designers and photographers. You quickly process and publish your work knowing that it is protected as much as possible when using watermarks.
And an additional feature will be that Watermark Soft allows, many times simpler than in competing programs, with just a couple of button clicks, without special skills and quickly, to prepare images for the specifics or tasks of specialized platforms (for example, Behance). Mass resizing, cropping, and so on – after installing this program, all this will never again become a long, tedious, and boring task.
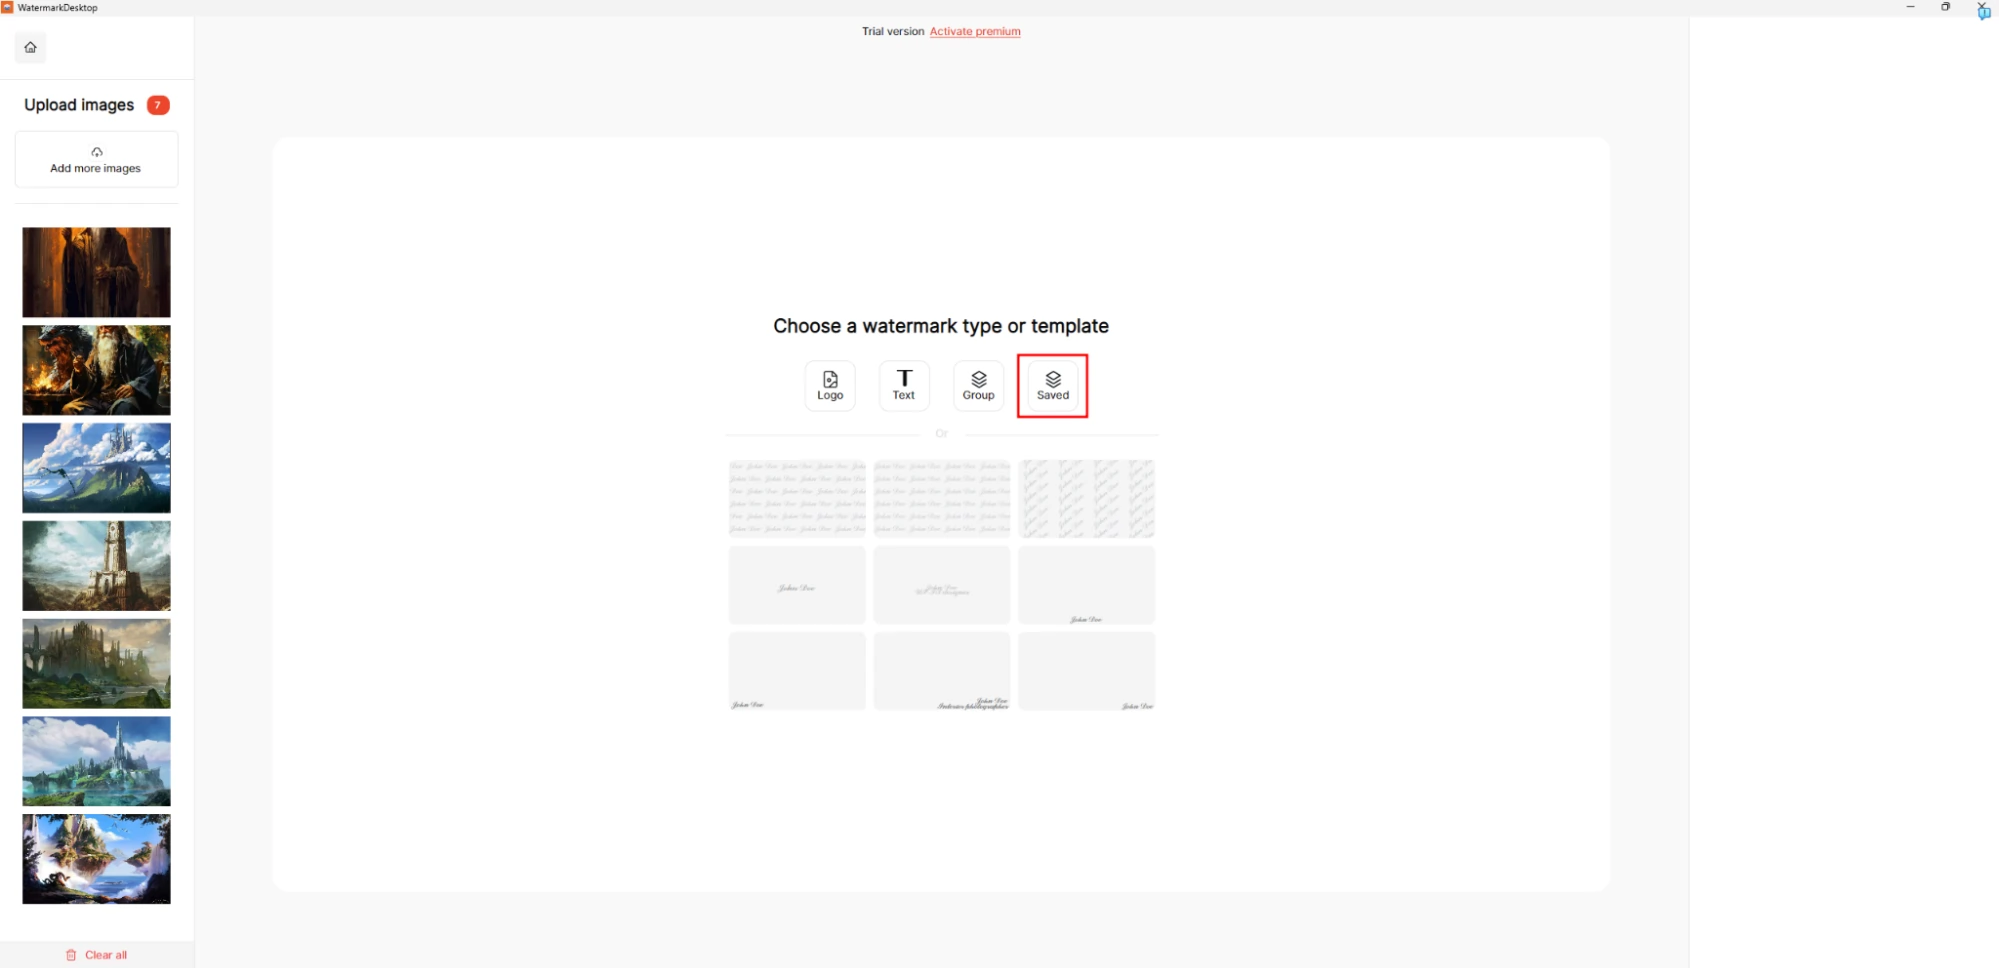
Tip: In Watermark Soft, you can immediately select the Saved tab with previously saved watermark templates. This will allow you to process even faster and save additional minutes of manual labor.
Step-by-Step Guide to Adding Watermarks to a Portfolio Through Watermark Soft
The Watermark application is one of the few programs that allow today to absolutely free try the batch watermark addition function. Regardless of whether the user is a beginner designer, artist, photographer, blogger, businessman, or has years of experience behind them, getting acquainted with it will be equally easy for everyone.
The main feature of Watermark Desktop is minimalist design. You can’t get confused or lost in it. There’s nothing superfluous in the interface, only basic functions. To assess how easy it will be to process an entire folder of images and add watermarks to them, you need to install the application and go through just a few stages:
- Step 1. After launching, a laconic menu opens with five sections (no need to create an account). Click on the first one on the left.
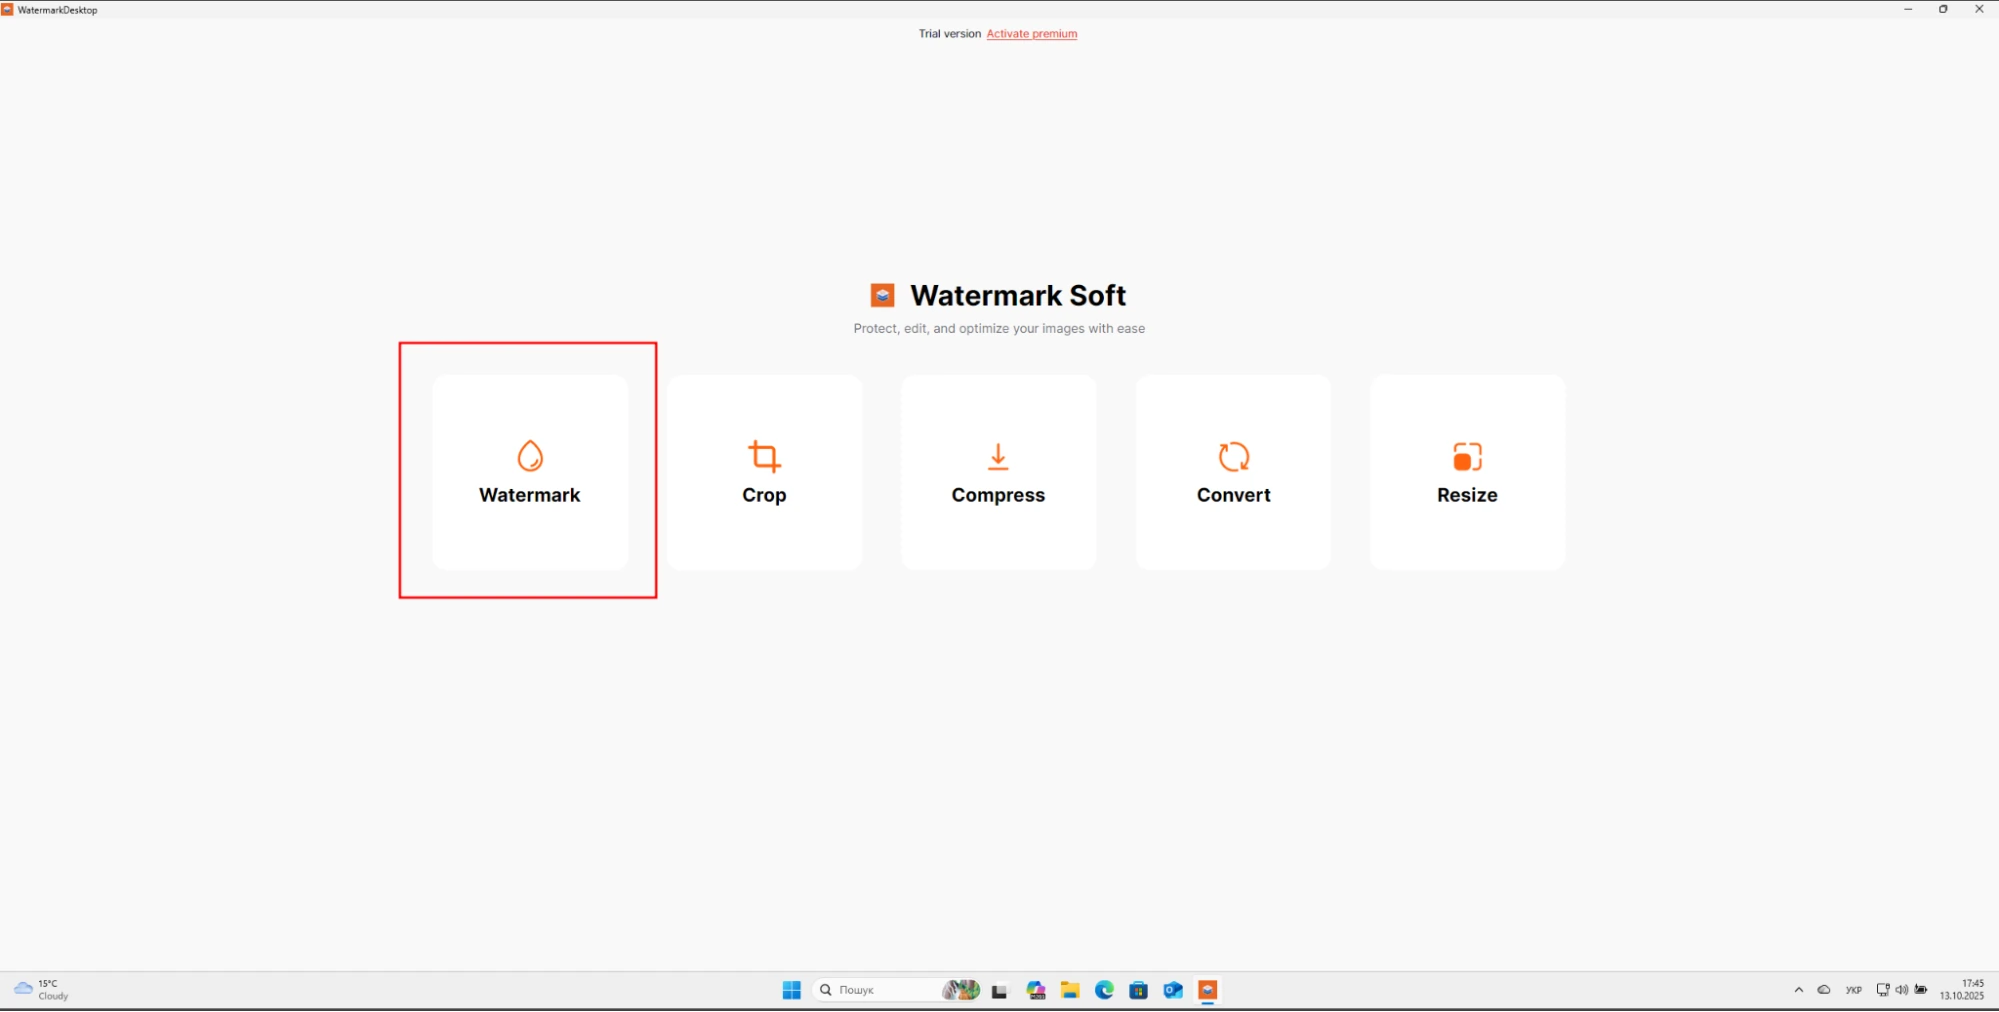
Fig. 5 Start page of Watermark Desktop program. - Step 2. Click Upload Images to start processing photos (video processing with adding watermarks is also available on the page).
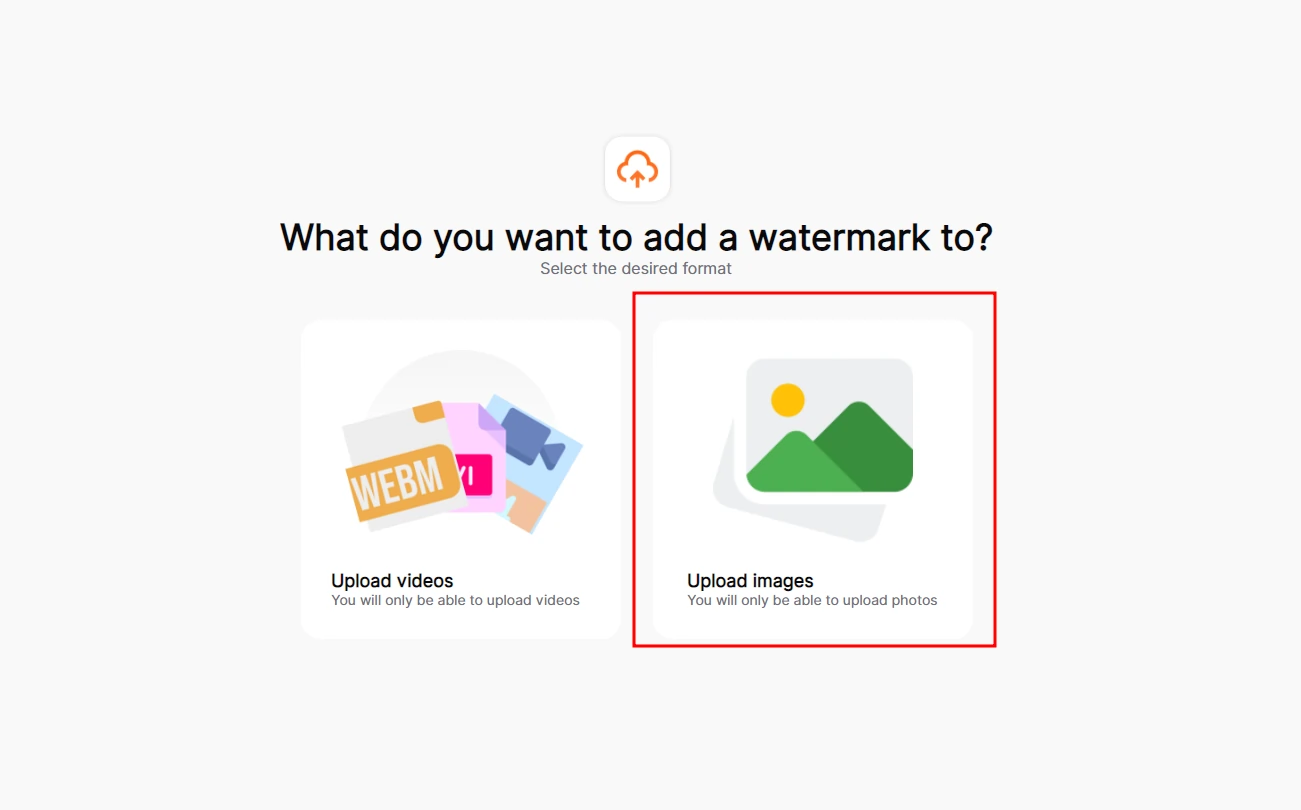
Fig. 6 Page for selecting watermark addition mode in Watermark Desktop. - Step 3. Direct loading of images, which can be initiated by dragging either one or a whole group of photos into the corresponding field, or by clicking on another Upload images button.
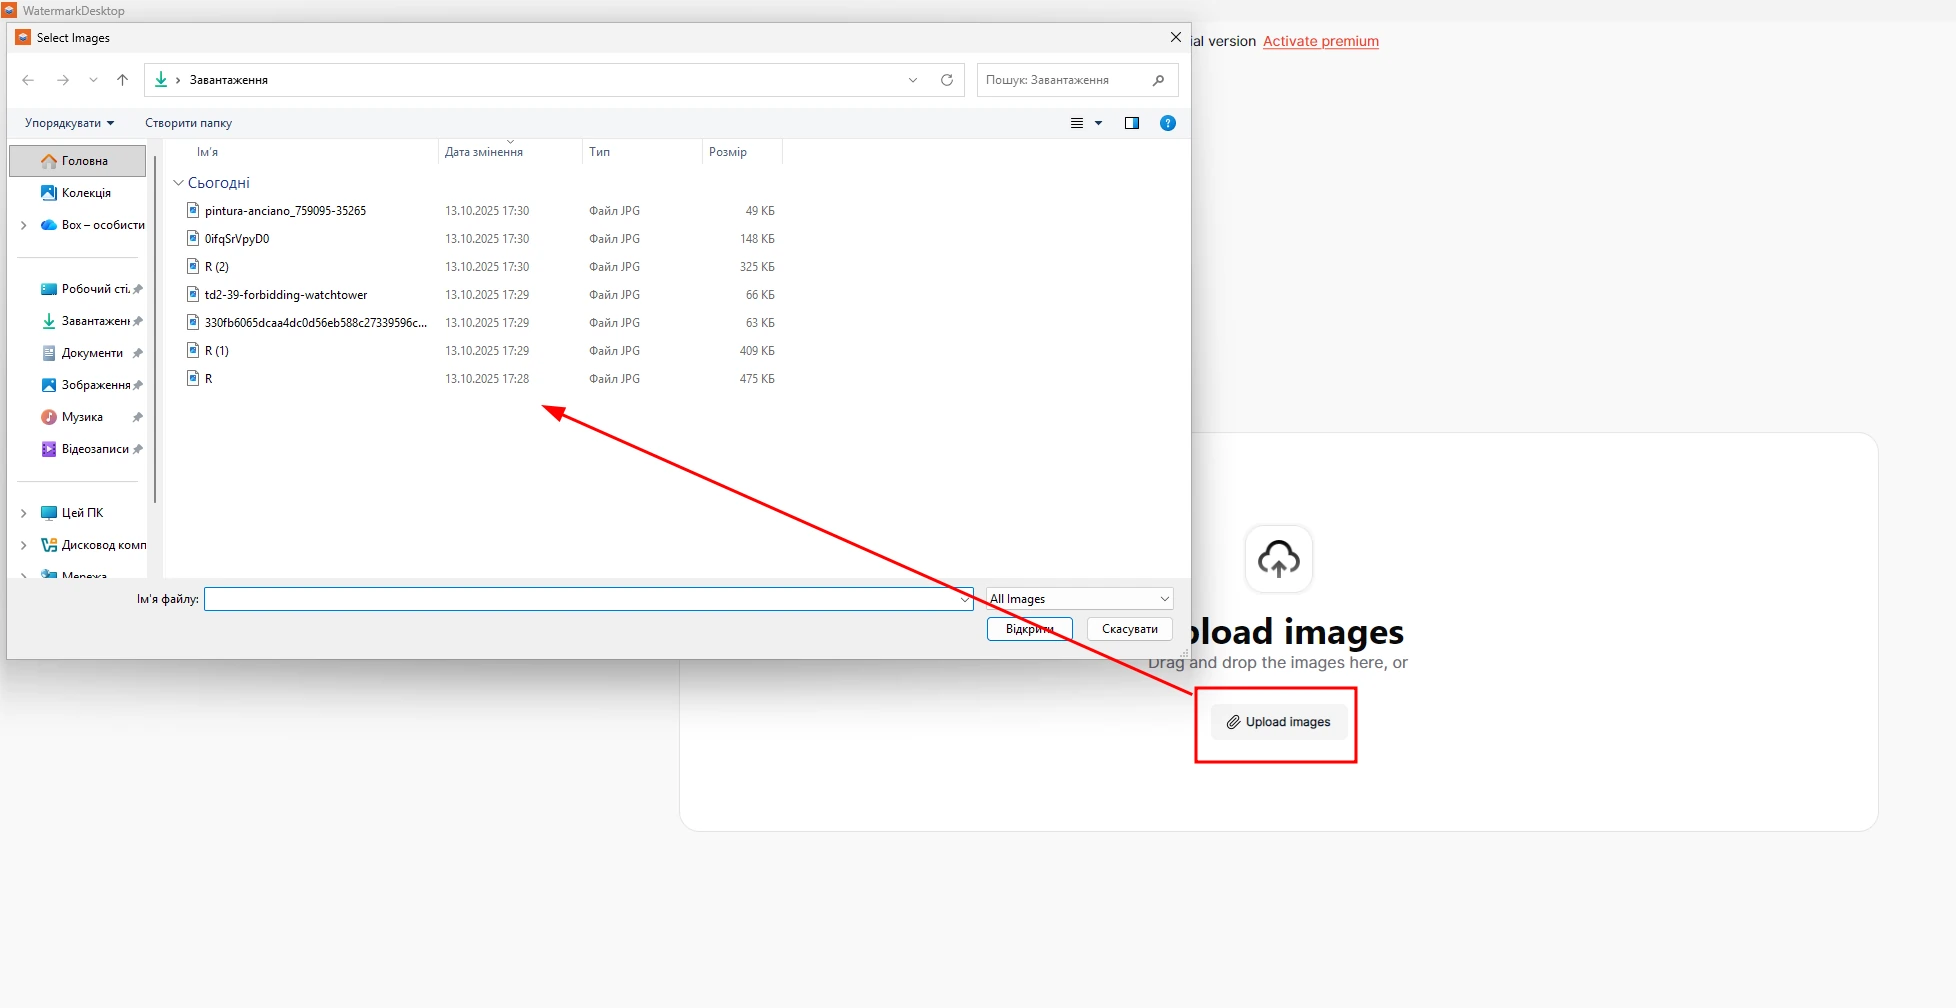
Fig. 7 Image import page for further editing with watermarks in Watermark Desktop. - Step 4. After loading, the watermark settings menu of Watermark Desktop program will open. In it you can:
- make the logo you need into a watermark;
- create a simple text watermark;
- use ready-made templates from the program, each of which can be additionally edited by dozens of parameters: from changing text (what will be written) to its size, color, position, transparency level, effects;
- apply logo templates that were previously created by you and saved in the program for reuse.
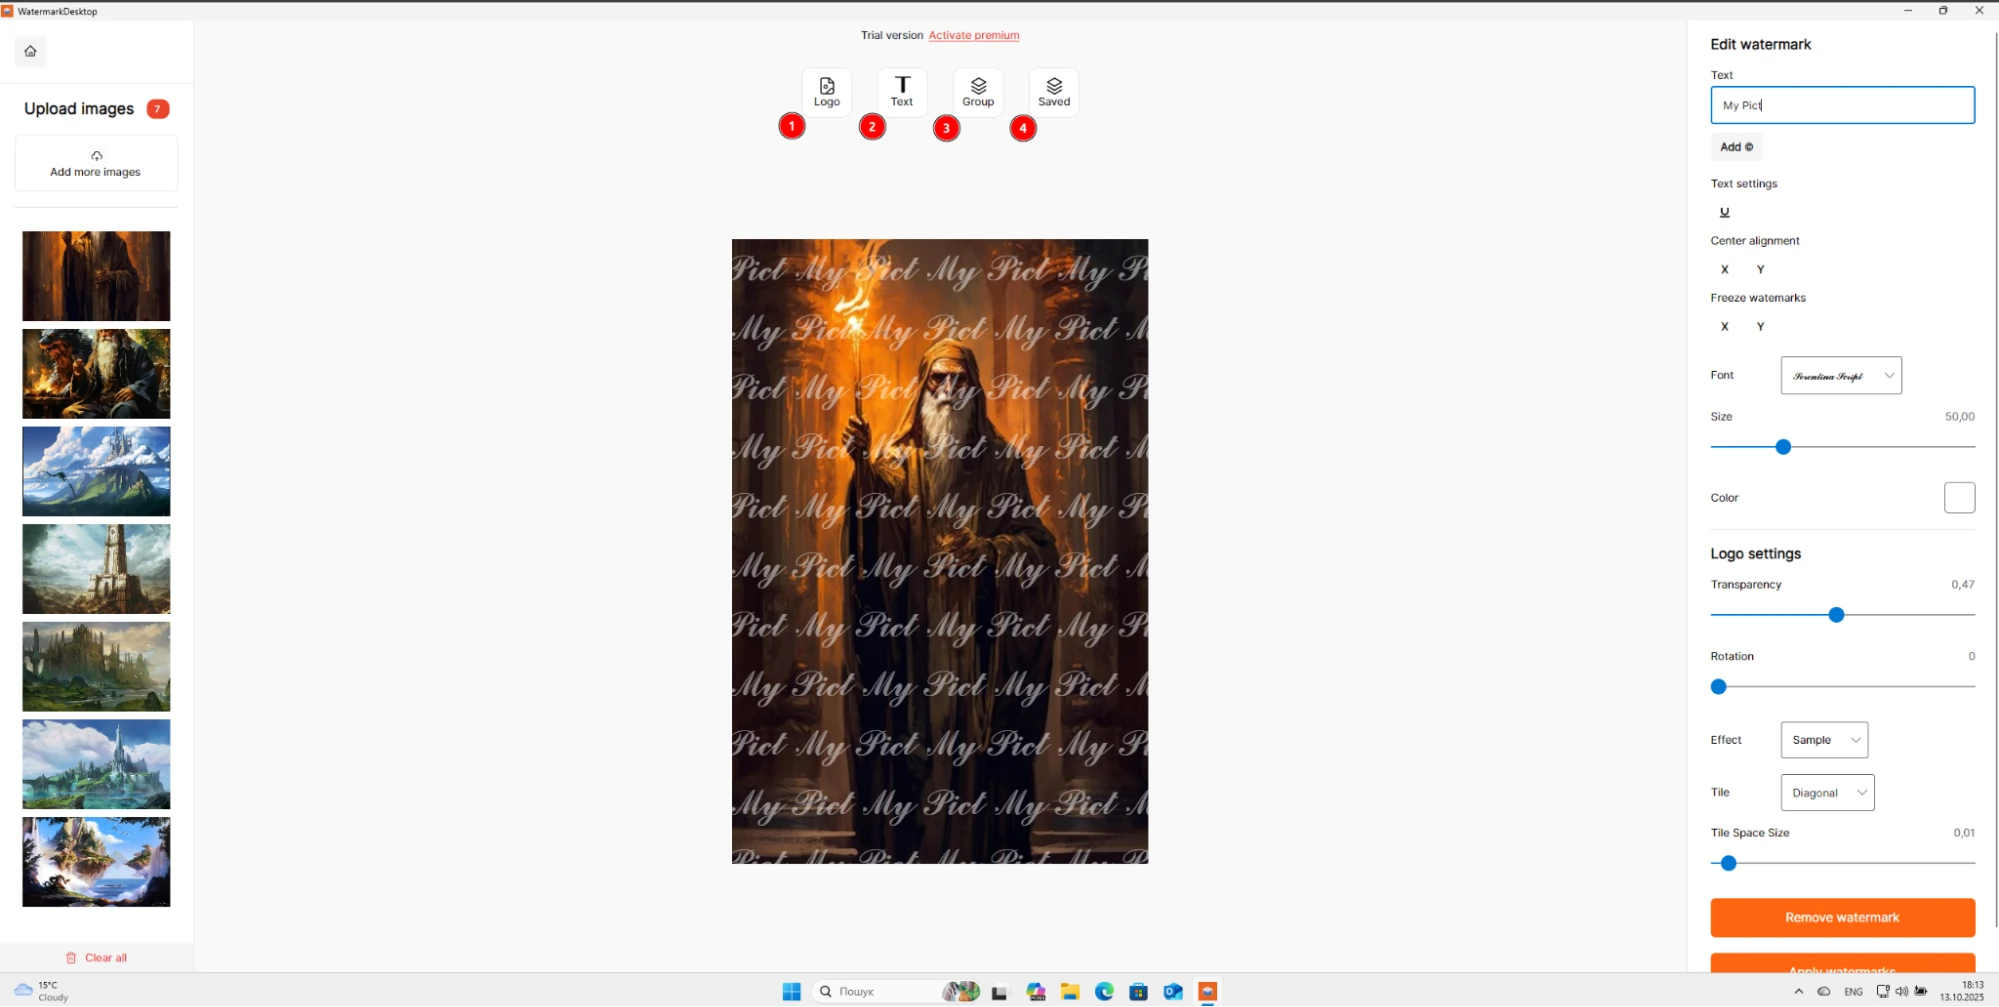
Fig. 8 Menu for final selection, configuration and addition of watermarks in Watermark Desktop. - Step 5. After all settings and clicking on Apply watermarks, the results export page will open. In it you can select:
- output folder where ready files with watermarks will be saved;
- image quality level – the further right the slider, the less compression, better picture and heavier each separate file;
- image format, including: gif, ico, jpg, png, bmp, heif, webp, tiff;
- saving the watermark of this project as a template for its reuse in the future.
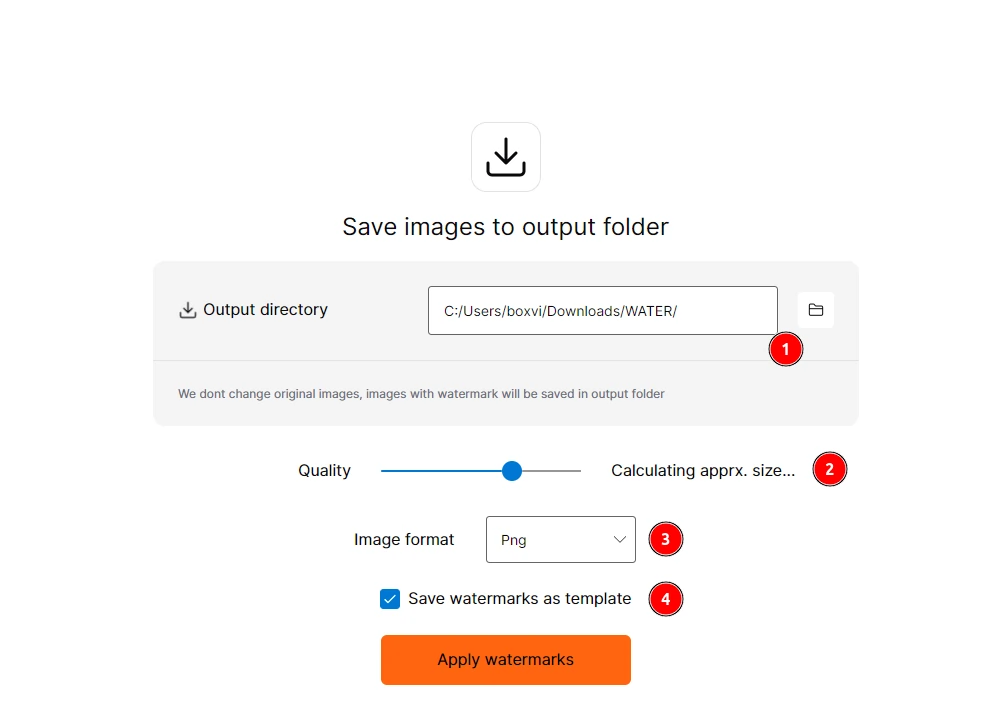
Fig. 9 Export page for ready images with watermarks in Watermark Desktop. All in all, it will take you at most 1-2 minutes of time, but the result is worth it. Just once figuring out the program’s capabilities and saving a couple of watermark templates, in the future adding this protection to your works can be done with eyes almost closed and absolutely without effort.
How a Photographer, Designer and Artist Can Protect Their Work When Transferring to a Client or in the Process of Uploading to the Internet
In addition to using watermarks, there are other techniques for protecting a portfolio:
- Always save originals of works with maximum high quality only with yourself – this way you’ll be sure the original is safe.
- Upload reduced copies or compressed versions to the internet (settings of programs like Watermark Soft allow implementing this at the last processing stage by moving the Quality slider).
- From time to time check whether your works appear on other resources. Image search engines will help with this. Upload your image to Google Images or TinEye. They will find similar images on the network and show where they are published. This way you’ll quickly find out if someone downloaded and posted your works without a link to you.
- In most cases of illegal use, you can contact site administrators or use copyright law (for example, file a DMCA notice).

Finally, remember that a watermark is part of a protection and branding strategy, but not a panacea. Combine watermarks with other methods: report your authorship in work descriptions, use clear signatures, register rights if needed. And of course, use quality tools, whether it’s Photoshop, Canva or Watermark Soft service. They are created to give you the opportunity to stay one step ahead of potential copiers.

On the path to success, it’s important not to be afraid to share your work, but also not to forget about security. A properly designed watermark is the foundation for bold portfolio demonstration without losing control over authorship. Good luck in creativity and protecting your ideas!